
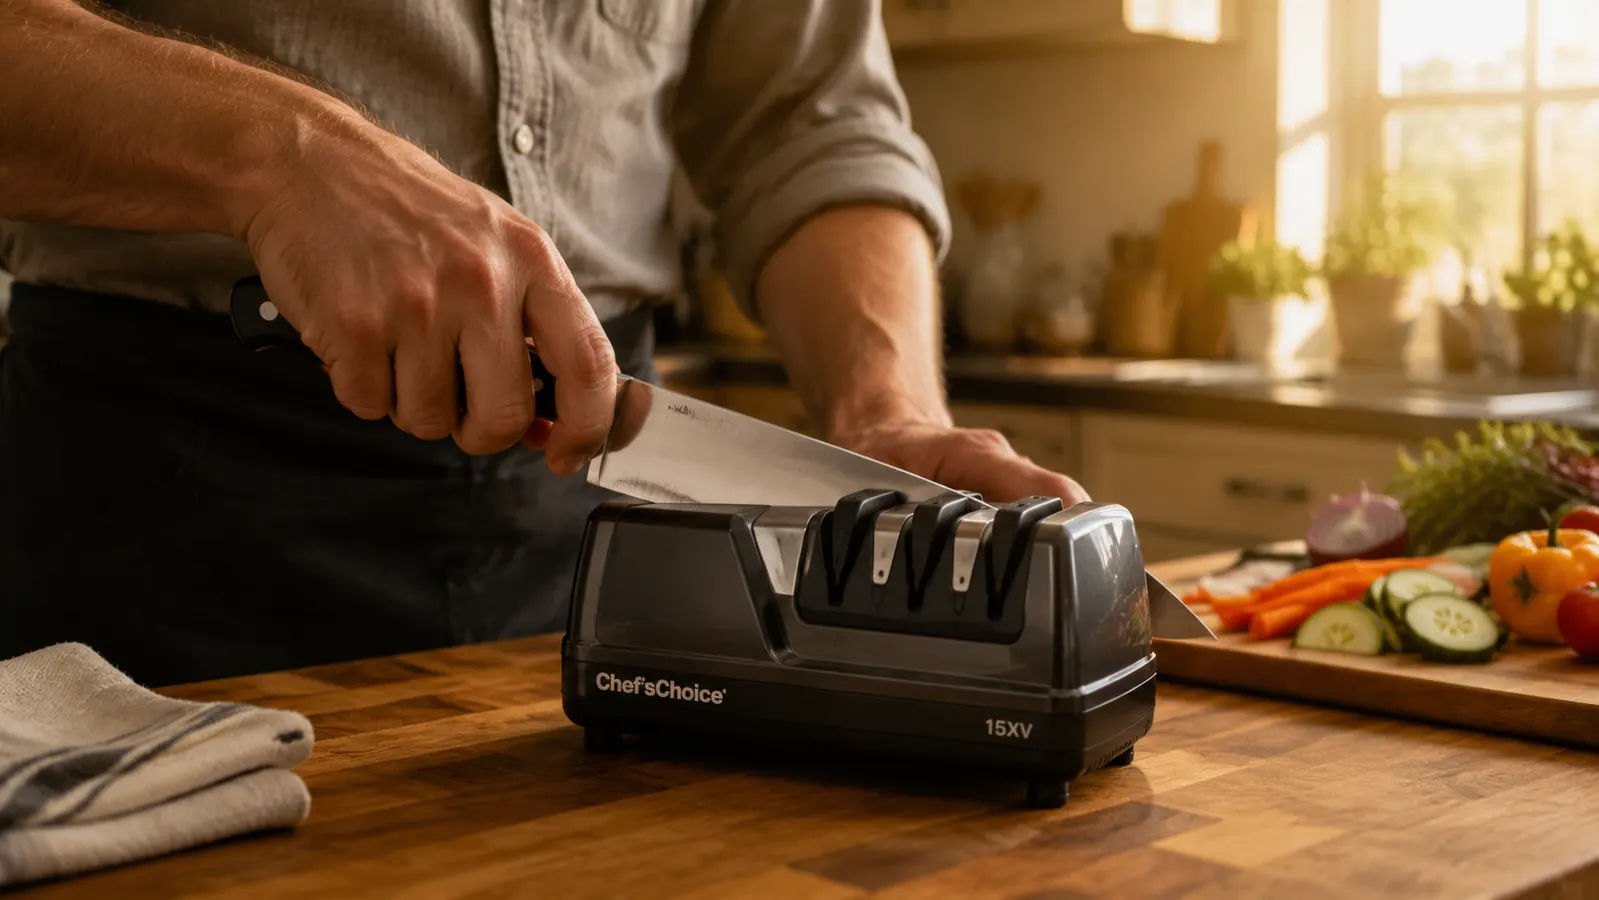
There's a specific moment every home cook knows. You're halfway through an onion and the blade is skating instead of cutting, dragging through the skin instead of slicing clean, and you realize the knife you paid real money for has gone dull again, only weeks after the last time you swore you'd fixed it for good. I hit that wall more times than I'd like to admit before I started using the Chef'sChoice 15XV EdgeSelect electric knife sharpener on my own knives, and the truth I eventually learned is that the difference between a knife I dread and a knife that actually works has almost nothing to do with the knife itself. It's the sharpening method.
This isn't a review of the sharpener, I've already written that one separately after a full year of putting it through real weeknight use. This is the exact method I use to restore a knife that's gone genuinely dull, not just a little tired, but the kind of dull where it won't bite into a tomato skin without pressure. Five steps, the same ones I run every time a blade in my knife block stops earning its keep, from assessing how bad the damage actually is to the final pass that brings back a true edge. If you've got a knife sharpener sitting in a drawer that you've only ever used to touch up an already-decent edge, this is what it can actually do when a knife needs real work.
Tired of a knife that skates instead of cuts?
The Chef'sChoice 15XV EdgeSelect uses 100-percent diamond abrasives across three stages, coarse, fine, and strop, built to take a genuinely dull knife from dragging through skin to slicing clean again in a few short passes.
Amazon Check Today's Price on Amazon →Step 1: Assess How Dull the Knife Actually Is
Before you touch the sharpener, figure out what you're actually dealing with, because a knife that's mildly tired needs a different starting point than one that's been neglected for a year. I run a quick thumbnail test, resting the edge lightly against my nail at an angle and seeing whether it catches or slides. If it slides without catching at all, or if the blade won't cleanly slice through a sheet of printer paper held loosely in the air, I know I'm dealing with a real restoration job, not a quick touch-up.
I also run a finger, very lightly and away from the edge, along the length of the blade checking for nicks, rolled sections, or spots where the edge line looks wavy instead of straight. My 8-inch chef's knife picked up a small nick two summers ago from an accidental run-in with a ceramic plate, and that kind of damage matters, because a chipped edge needs more time in the coarse stage than a knife that's simply lost its bite from normal use.
Wipe the blade clean and dry before you start too. Any residue, oil, or bits of food on the edge can throw off how the abrasive wheels grip the metal, and I've learned the hard way that skipping this step means uneven results on the first pass. It takes ten seconds and it's the difference between a clean restoration and having to redo a stage because the blade wasn't making full contact.
Step 2: Start in the Coarse Diamond Stage, Every Time
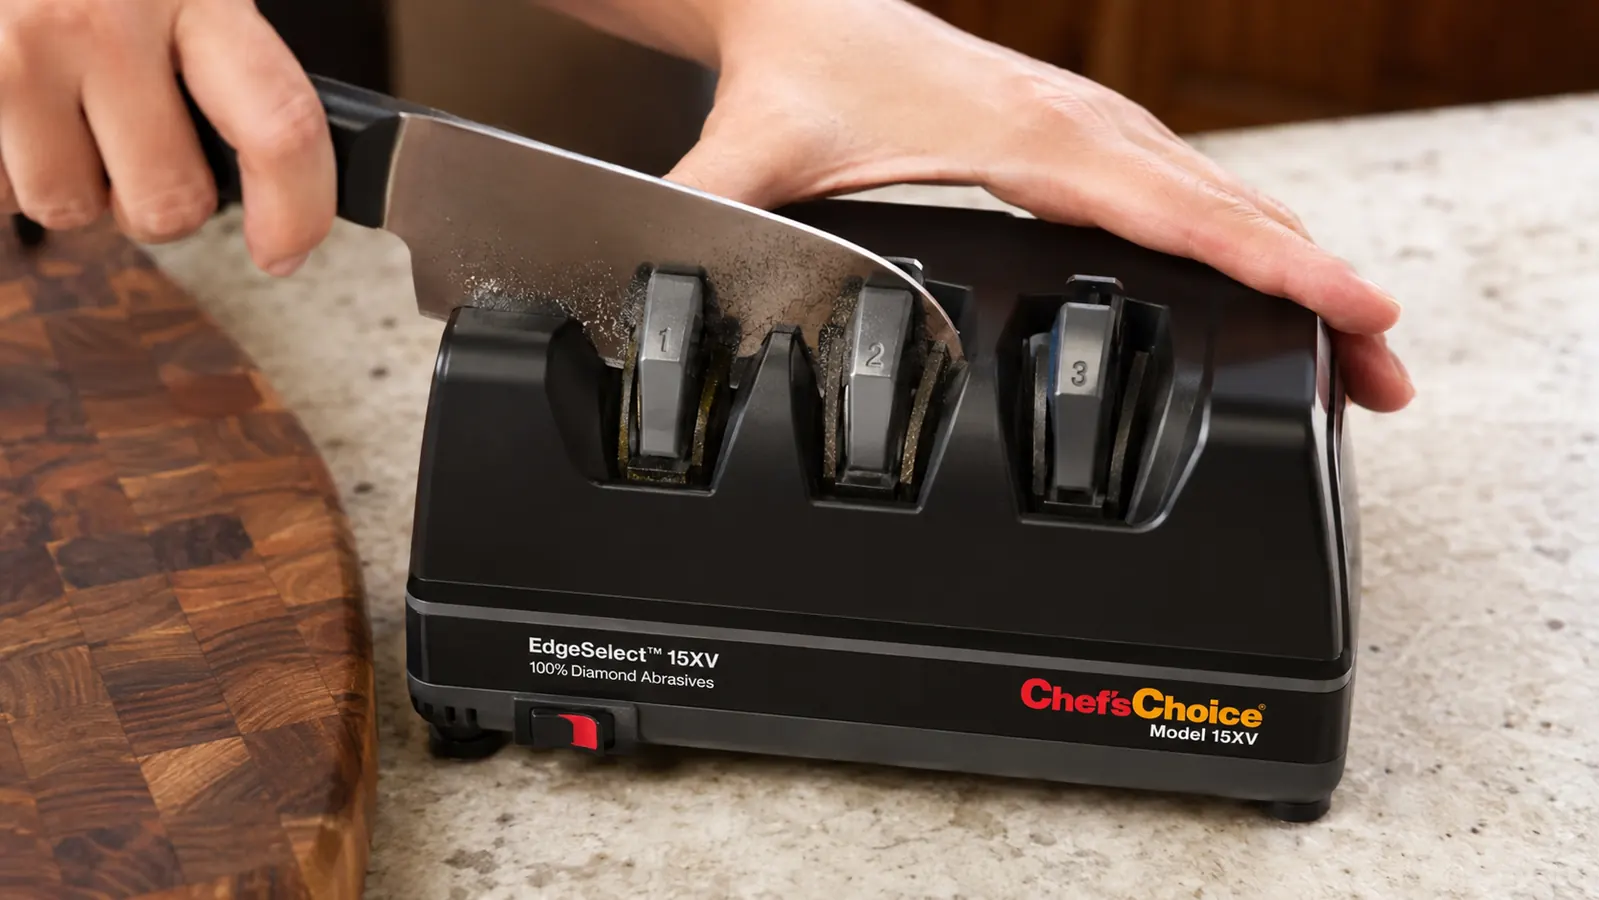
This is the step most people skip, and it's the reason so many electric sharpeners feel like they aren't doing much. If a knife is genuinely dull, you have to start in Stage 1, the coarsest diamond abrasive slot, even if it feels aggressive. That stage is doing the actual reshaping work, grinding a fresh edge angle into metal that's rolled or worn down, and jumping straight to a finer stage on a truly dull knife just polishes a bad edge instead of fixing it.
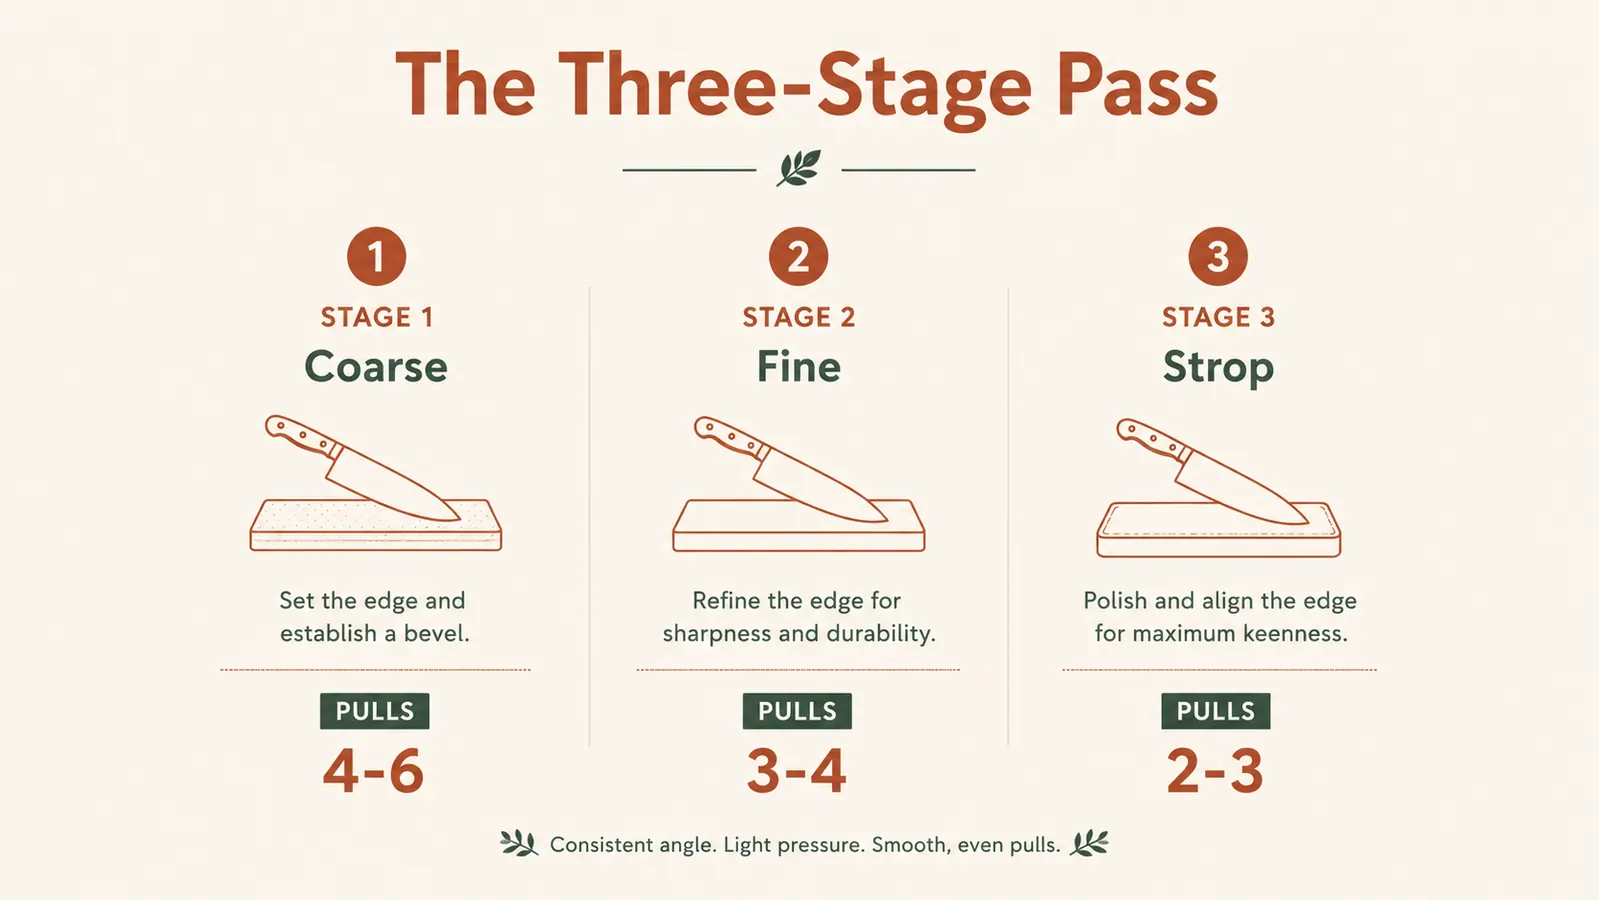
I pull the blade through Stage 1 using light, even pressure, letting the sharpener's preset guides do the angle work rather than trying to steer the blade myself. Four to six full pulls per side is usually enough for a knife that's moderately dull, closer to eight or ten if there's a visible nick I'm grinding out. You'll see fine metal dust collecting on the blade and around the slot, which is normal and exactly what tells you the stage is doing its job.
Alternate sides evenly, left, right, left, right, rather than doing all the pulls on one side and then switching. I made that mistake early on with a paring knife and ended up with an edge that was noticeably crooked, biting harder to the left than the right when I tested it on a carrot. Even, alternating passes keep the bevel symmetrical, which matters more than most people realize once you're actually trying to reshape a damaged edge rather than just touching one up.
Step 3: Move Into the Fine Stage Without Rushing
Once the coarse stage has done its work, and you can feel the edge starting to bite your thumbnail again instead of sliding past it, move into Stage 2. This is the finer diamond abrasive, and its job is to refine the edge the coarse stage just built, smoothing out the microscopic burr and roughness left behind. Skipping straight from coarse to strop leaves a rougher edge than you'd expect, one that cuts but doesn't glide.
I use three to four pulls per side here, same even pressure, same alternating rhythm. The metal dust you were seeing in Stage 1 should taper off noticeably by the end of this stage, which is your visual cue that the coarse reshaping is finished and you're just refining now. If you're still seeing heavy dust after four or five pulls in Stage 2, that's usually a sign the knife needed more time in Stage 1 than you gave it, and I'll occasionally step back to Stage 1 for two more pulls before returning.
This is also the stage where I do a quick paper test between pulls, holding a sheet of printer paper by one corner and seeing whether the blade slices through cleanly instead of tearing or catching. On a genuinely restored knife, the paper should part almost silently. If it's still snagging after a full Stage 2 pass, I give it two more pulls per side before moving on rather than assuming the next stage will fix it.
Step 4: Finish With the Strop Stage for a Polished, Food-Safe Edge
Stage 3 on the EdgeSelect is the polishing and stropping stage, and it's the one that turns a technically sharp edge into one that actually feels good in your hand at the cutting board. Two to three light pulls per side is all this stage needs. You're not reshaping anything at this point, you're removing the last microscopic burr and aligning the edge so it glides through food instead of tearing at it.
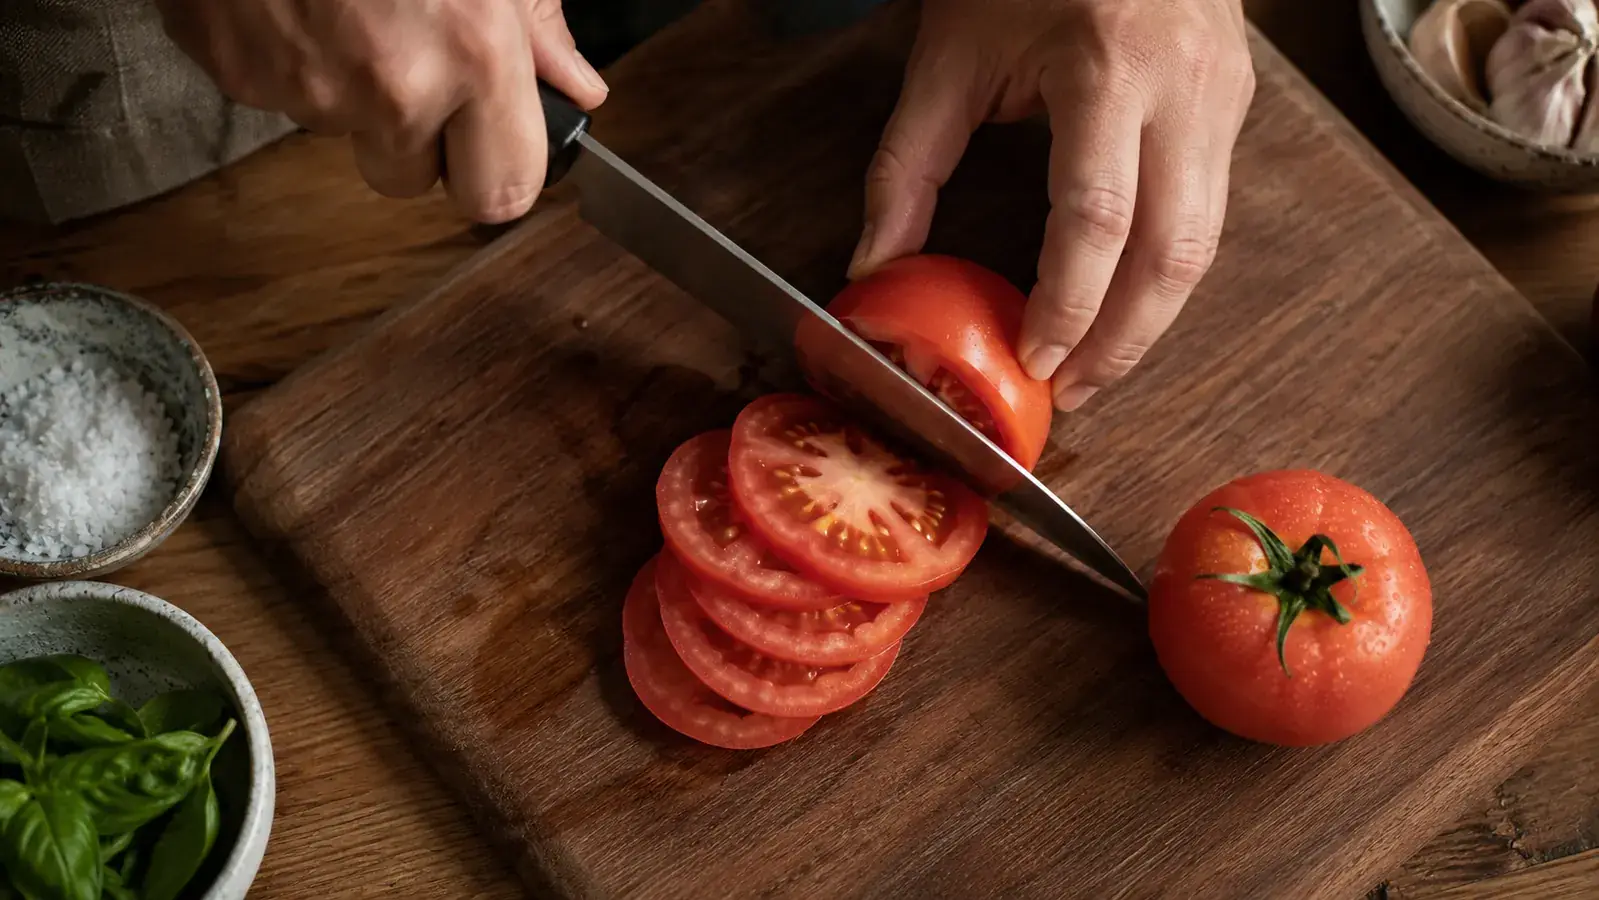
I've noticed the biggest difference between a knife that's merely sharp and one that's genuinely restored shows up right here, in how it handles a ripe tomato. A knife that skipped straight to this stage without proper coarse and fine work will still tear the skin slightly. A knife that went through all three stages in order slices through that same tomato with almost no resistance, the skin parting cleanly instead of dimpling under the blade first.
Wipe the blade down with a damp cloth after the final stage, checking for any remaining metal dust along the edge before it goes anywhere near food. I keep a dedicated cloth just for this in the drawer next to the sharpener, since a stray bit of grit left on a freshly stropped edge is the kind of small oversight that undoes the polish you just spent five minutes creating.
Step 5: Test the Edge the Right Way Before You Trust It
Don't trust a restored edge until you've actually tested it on something real, not just paper. I run every freshly sharpened knife through a ripe tomato first, since a tomato's skin is genuinely unforgiving of a mediocre edge in a way a cutting board carrot isn't. If it slices clean on the first light stroke, no sawing, no pressing down, the restoration worked.
I also do the same thumbnail test I started with in Step 1, resting the edge lightly against my nail and feeling for a slight catch rather than a slide. That comparison, before and after, is honestly the most satisfying part of the whole process, because it tells you in a few seconds exactly how much the three stages actually accomplished, and it's the same test I'll use the next time this same knife starts to feel tired again.
If the edge still isn't where you want it after all three stages, don't force the food test, go back to whichever stage feels like it needs another pass or two. I've had a couple of badly neglected knives, an old paring knife I'd genuinely forgotten about in a drawer, that needed a full second run through Stage 1 before the rest of the process could catch up. That's not a failure of the method, it just means the knife earned an extra round.
What Else Helps
A few habits outside the actual sharpening keep a restored edge lasting longer between full restorations. I hone my main chef's knife with a honing steel every few uses, not to sharpen it, but to realign the edge between real sharpenings, which stretches the time before a knife needs the full three-stage treatment again. And I've switched every cutting board in my kitchen to wood or a softer plastic, since a glass or stone surface will dull even a freshly restored edge within a matter of weeks.
Wash knives by hand and dry them immediately rather than letting them sit in a sink or go through the dishwasher. Sitting wet against other utensils is one of the fastest ways to roll a fresh edge, and I learned that lesson after a dishwasher cycle took the bite off a knife I'd sharpened only a week earlier. It's a small habit, but it protects the actual work you just did with the sharpener.
Finally, keep track of roughly how often each knife needs a full restoration versus a light touch-up. My main chef's knife, used nearly every night, needs the full three-stage pass every three to four months. A paring knife I use maybe twice a week can go closer to six months before it needs the coarse stage again. Knowing your own rhythm means you catch a knife before it gets bad enough to skate through an onion instead of cutting it.
A knife that skipped straight to the polishing stage will still tear a tomato's skin. One that went through all three stages in order slices clean, almost without resistance.
Ready to bring a genuinely dull knife back to a real edge?
This is the exact three-stage method I use on my own knives with the Chef'sChoice 15XV EdgeSelect. For the full year-long breakdown of how it's held up, read the <a href="/chefschoice-knife-sharpener-review-long-term">long-term Chef'sChoice review</a>, or see the wider case for keeping one on the counter in <a href="/10-reasons-knife-sharpening-matters">10 Reasons Knife Sharpening Matters</a>.
Amazon Check Today's Price on Amazon →