
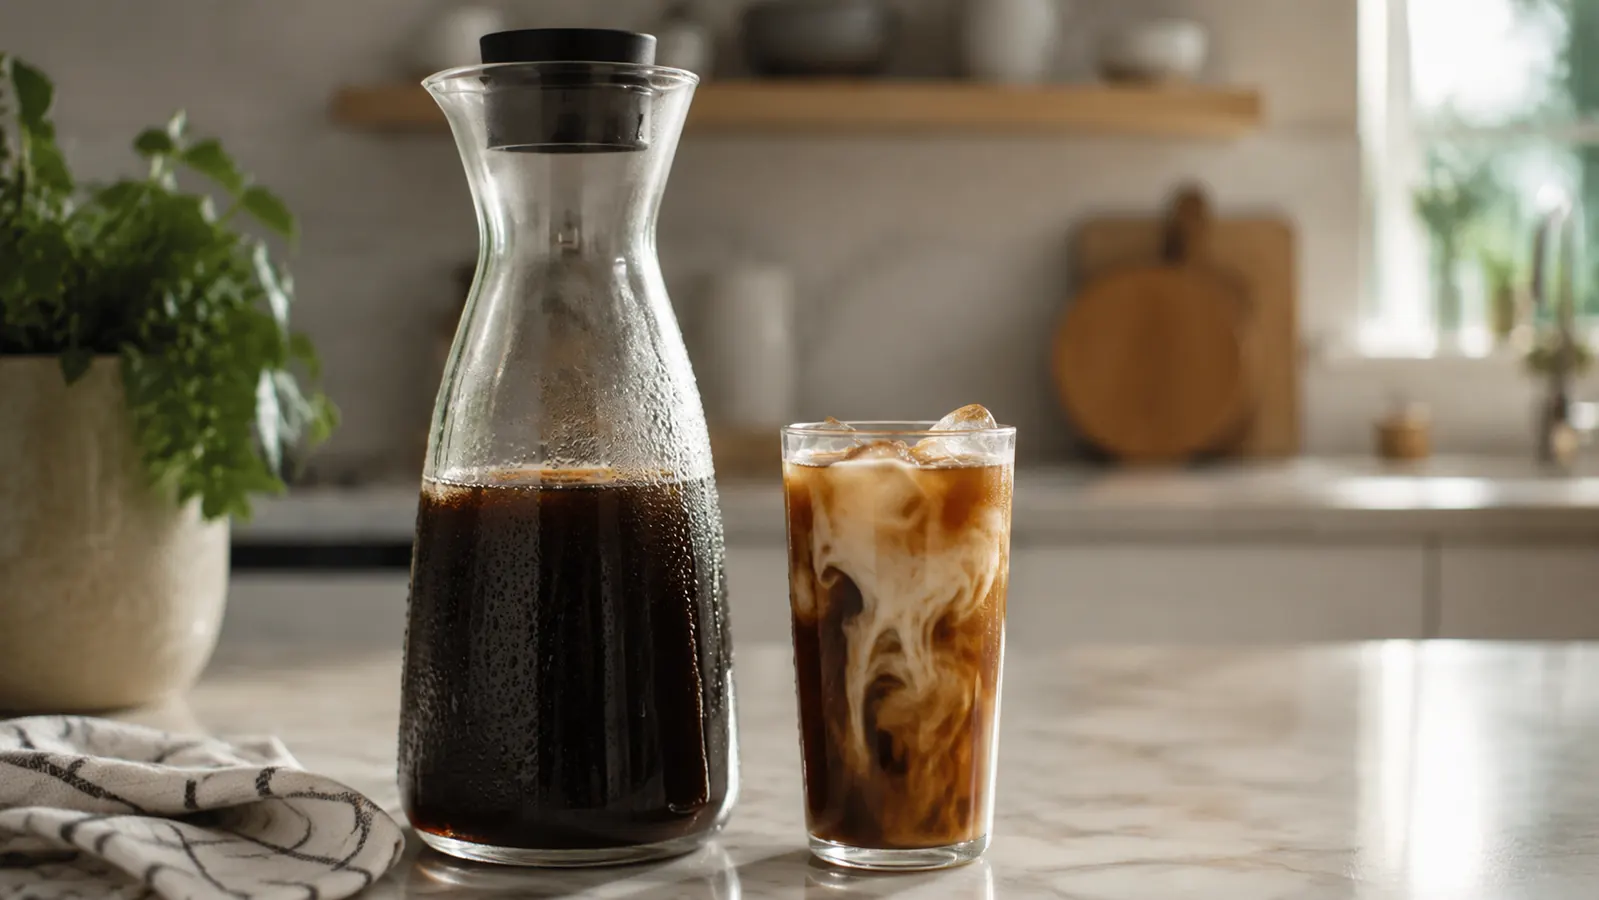
My first three batches of cold brew tasted like burnt pencil shavings steeped in dishwater, and I almost gave up on the whole method before I ever figured out why. I'd used the wrong grind, the wrong ratio, and left it steeping way past the point where it turns bitter instead of smooth. That's the thing nobody tells you about cold brew: it's forgiving on temperature, since there's no burner to babysit, but it is absolutely not forgiving on time and ratio, and getting either one wrong is the entire reason most homemade cold brew tastes harsh.
This is the exact method I settled on after a summer of testing batches almost daily in the Primula Burke Deluxe, the glass carafe with the built-in mesh filter that's lived on my counter ever since. Five steps, written the way I'd walk a friend through it standing at my kitchen island. Follow them in order and you'll get a smooth, low-acid concentrate on your first try, not your fifth.
Tired of cold brew that tastes bitter no matter what beans you buy?
The Primula Burke Deluxe carafe was built for exactly this method, with a mesh filter core that pulls out cleanly with no gritty sediment left in your glass. It's the tool that took my cold brew from drain-pour to daily habit.
Amazon Check Today's Price on Amazon →Step 1: Grind Coarse, Not Medium, and Buy More Beans Than You Think
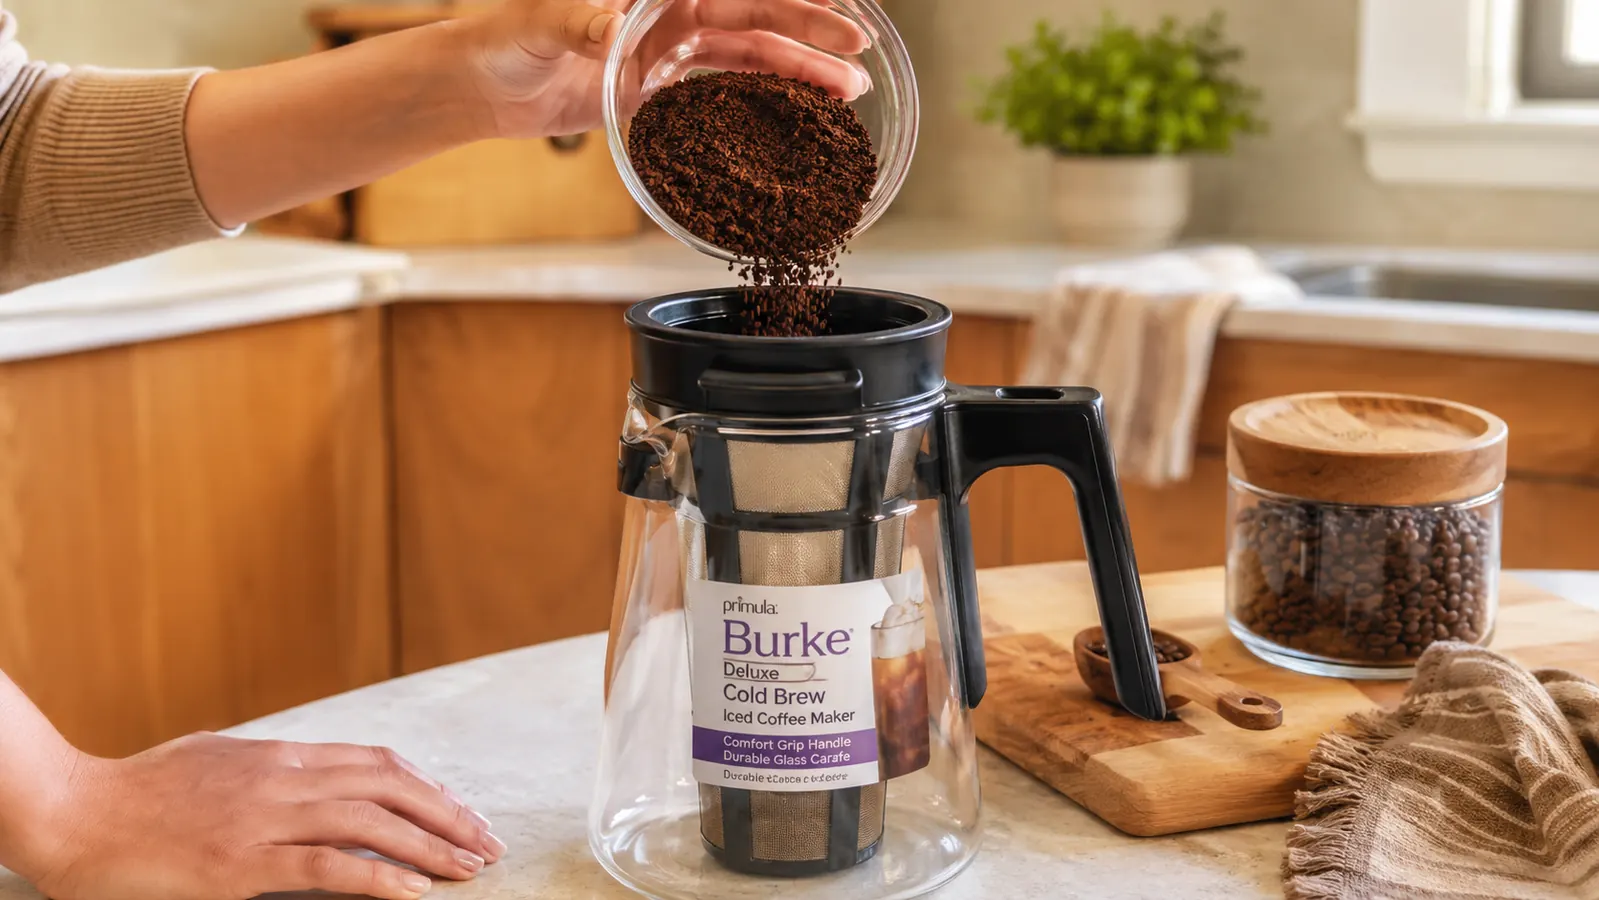
Grind size is the single biggest reason home cold brew turns bitter, and it's the mistake I made on all three of my early batches. A medium or fine grind, the kind you'd use for a drip machine, has way more surface area exposed to water over a 12 to 18 hour steep, and that extra surface area pulls out bitter compounds along with the good flavor. You want a grind that looks closer to coarse sea salt or breadcrumbs, chunky enough that you can see individual pieces, not powder.
If your grocery store grinds on request, ask for French press setting, not drip. If you're grinding at home, most burr grinders have a dedicated cold brew or French press notch, usually near the coarse end of the dial. I use a medium roast from a local roaster, but honestly the roast matters less than people assume. A lighter roast gives you brighter, slightly fruitier notes, and a darker roast gives you more chocolate and less acidity, but either one will taste smooth if the grind and ratio are right.
Buy more coffee than a normal pot would need. Cold brew uses a much higher coffee-to-water ratio than drip because you're not applying heat to extract flavor quickly, you're relying on time instead, and that means more grounds per cup of water. I go through nearly double the coffee I used to for the same number of servings, which is worth knowing before you're standing in the aisle guessing at bag sizes.
Whole bean versus pre-ground matters more here than it does for a quick drip pot, mostly because pre-ground coffee starts losing aroma the moment the bag is opened, and an 18-hour steep gives that staleness plenty of time to show up in the final cup. I grind my beans the same evening I'm building a batch, never the morning before, and it's a small habit that noticeably sharpens the flavor compared to grounds that sat in a bag for a week.
Step 2: Nail the Ratio Before You Add a Single Drop of Water
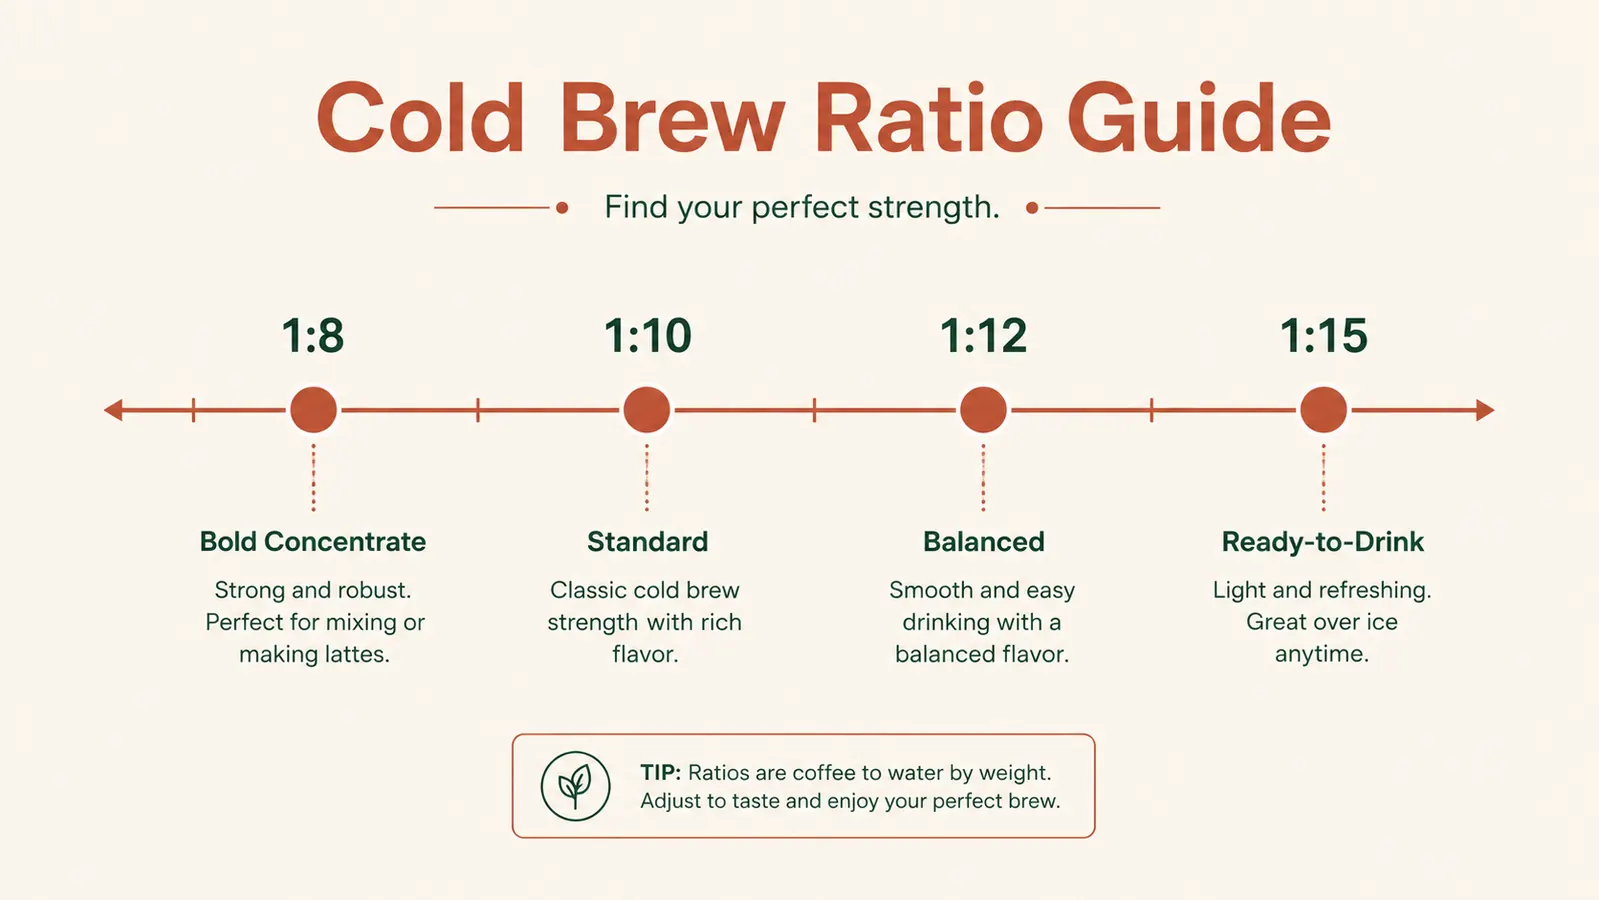
This is where most people go wrong even after getting the grind right. Cold brew is meant to steep as a concentrate, meaning you use far more grounds relative to water than you'd ever use for hot coffee, and then you dilute it later with water, milk, or ice. My standard ratio is 1 cup of coarse grounds to 4 cups of cold, filtered water, which lands close to a 1:10 ratio by weight and gives me a concentrate strong enough to cut with ice and still taste like coffee, not brown water.
If you like your cold brew bolder, closer to what you'd get at a coffee shop, push toward 1:8, meaning a bit more coffee for the same amount of water. If you'd rather drink it closer to full strength with less dilution later, stretch it to 1:12. I wrote all three ratios on a sticky note inside my cabinet the first month, because after three or four batches you'll know your preference by heart, but until then, measure. Eyeballing the ratio is the second most common way people end up with cold brew that's either watery and flavorless or so strong it's undrinkable without heavy dilution.
Use filtered or bottled water if your tap water has any noticeable mineral taste, since cold brew has nowhere to hide an off flavor the way hot coffee can mask it with heat and aroma. I keep a pitcher of filtered water in the fridge specifically for this, and it's a small habit that made a bigger difference than I expected the first time I switched from straight tap water.
Step 3: Steep in the Fridge, Not the Counter, for 12 to 18 Hours
Add your grounds to the filter basket, pour the water over them slowly so everything gets saturated evenly, give it a light stir with a spoon to knock down any dry clumps floating on top, then seal it and put it straight in the fridge. Cold brewing at fridge temperature instead of room temperature slows the extraction down even further, which is exactly what keeps the flavor smooth instead of harsh. Room-temperature steeping works too and finishes faster, but I've found it pulls slightly more bitterness, and the fridge method costs nothing but a little patience.
Twelve hours is my minimum, and eighteen is where I usually land for a Sunday night batch that's ready by the time I want coffee Monday morning. Anything under 12 hours and the concentrate tastes thin and underdeveloped, missing the body that makes cold brew worth making at home in the first place. This is also exactly why time, not temperature, is the variable that actually matters here. There's no burner to watch, no kettle to time to the second, just a window of hours where the water and grounds do the work on their own.
Don't push past 24 hours out of a fear of under-steeping. I tried a 30-hour batch once out of curiosity and it came back tasting muddier and slightly more bitter than my usual 18-hour version, which told me there's a real ceiling here even at fridge temperature. Set a reminder on your phone for whenever you want it done, and treat that number as a target, not a suggestion you can ignore for a day.
Step 4: Strain, Don't Rush It, and Skip the Squeeze
When the steep time is up, pull the filter basket straight up and out. This is the part where the Primula's built-in mesh core earns its keep, since it lifts cleanly out of the carafe without dragging sediment through the concentrate the way a cheesecloth-and-bowl setup tends to. If you're using any other method, a fine mesh strainer lined with a coffee filter or cheesecloth works, just let the liquid drip through on its own rather than pressing or squeezing the grounds to speed things up.
Squeezing or pressing the wet grounds to extract a little extra liquid feels efficient, but it's actually the third common source of bitterness in home cold brew. The grounds hold onto the harshest compounds, and forcing that last bit of liquid out drags those compounds into your otherwise smooth concentrate. Let gravity finish the job, even if it means losing an extra half cup you could technically squeeze out. The tradeoff isn't close.
Once strained, your concentrate is done and ready to store. I keep mine right in the same glass carafe with the lid on, since it's designed to double as fridge storage, and it holds its flavor well for about two weeks before I notice any real drop-off. If you're using a separate pitcher, any airtight glass container in the fridge works the same way.
Step 5: Dilute It the Right Way, Not Straight Over Ice
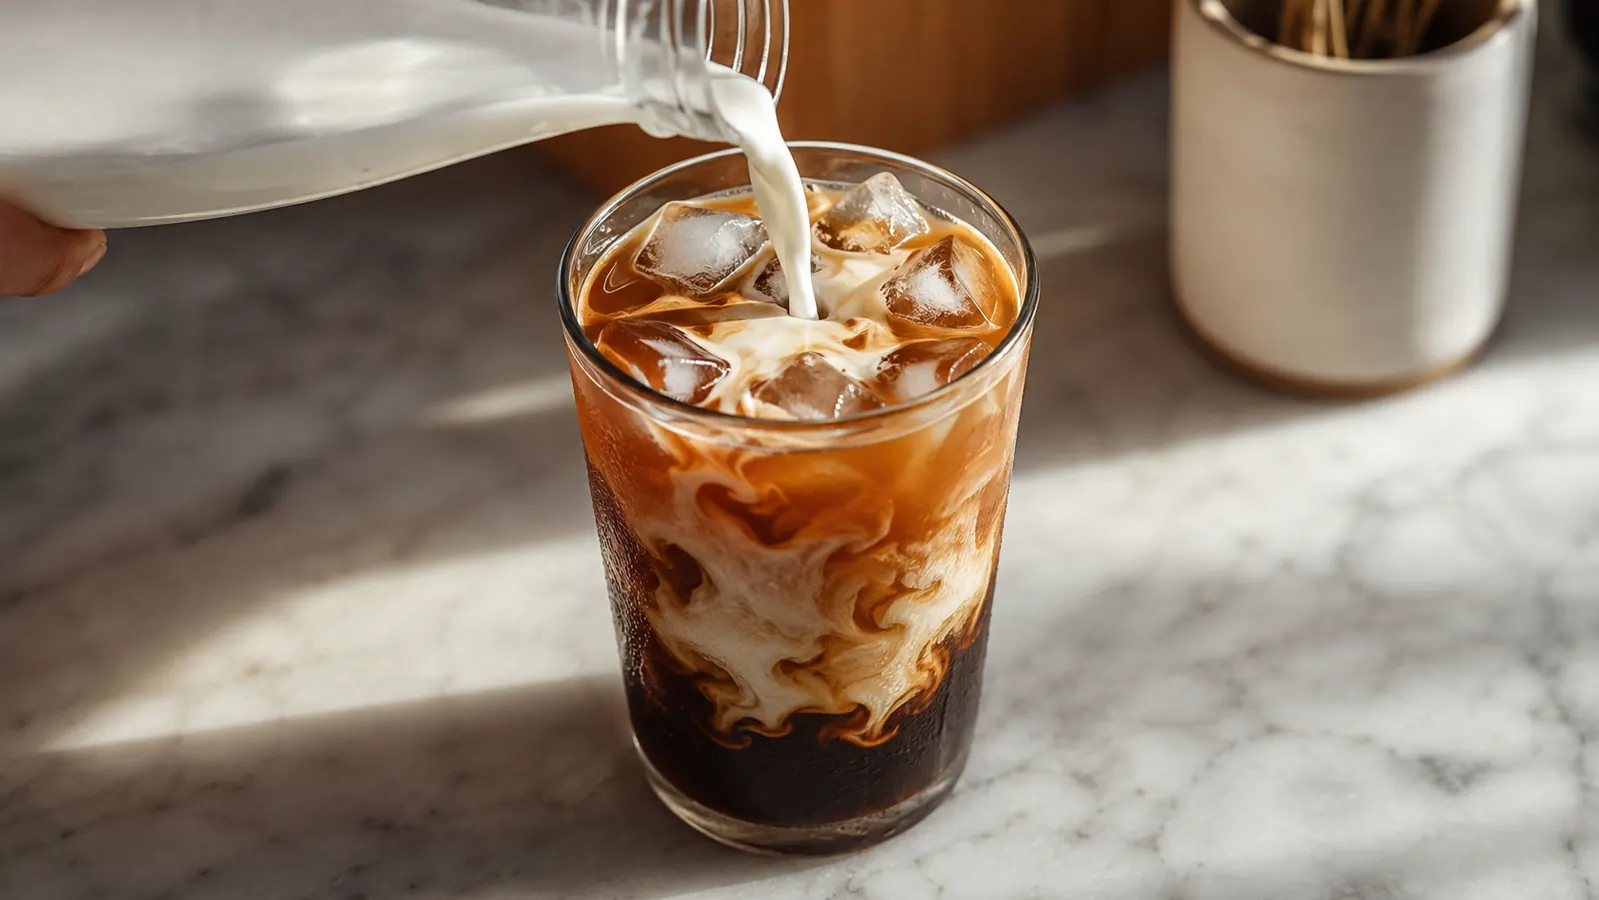
Pouring straight concentrate over ice and calling it done is the last mistake I want to flag, because it's the one that makes people think they don't like cold brew when really they've just never tasted it at the right strength. Start with roughly equal parts concentrate and water or milk, then adjust from there based on your own taste. I usually land closer to one part concentrate to one and a half parts liquid, which keeps it strong but not overwhelming.
Ice matters more than people expect here too. Regular ice cubes melt fast and water down an already-diluted glass within minutes, so on hot mornings I freeze some of my own cold brew concentrate into cube trays and use those instead. It sounds fussy the first time you do it, but it takes about thirty seconds of prep the night before and it means my second cup of the morning tastes exactly as strong as my first.
Milk and dairy alternatives behave a little differently against cold brew than they do against a hot cup, since there's no heat to help them blend in visually or texturally. Oat milk froths and swirls in a way that reads almost like a latte, while almond milk tends to separate slightly if the glass sits too long, which is only worth mentioning so you don't think you did something wrong the first time you notice it. I keep both in the fridge and pick based on mood more than any real functional difference.
If you're drinking it hot, and I do sometimes in colder months, warm the concentrate gently on the stove or in the microwave and dilute it the same way you would over ice. Cold brew concentrate isn't just for cold drinks, it's just a lower-acid, smoother-tasting coffee base that happens to be brilliant served over ice, which is where most people meet it first.
What Else Helps
A few small habits made this method more consistent once I'd run it a dozen times. I batch on Sunday nights specifically, since an 18-hour steep started around 8pm is ready right when I want coffee Monday morning, and it turns cold brew from a project into a standing weekly habit instead of something I only remember to do occasionally. I also weigh my coffee on a cheap kitchen scale instead of scooping by volume, since coarse grounds pack differently batch to batch and weight gets me a more consistent ratio than a scoop ever did.
Keep the concentrate away from strong-smelling items in the fridge, since coffee picks up nearby odors more than you'd expect over a two-week storage window. And if a batch ever does come out slightly bitter despite your best effort, a small pinch of salt, genuinely just a pinch, cuts bitterness without making the coffee taste salty. It's an old diner trick that works just as well on cold brew as it does on a bad pot of drip.
Cold brew is forgiving on temperature and merciless on time and ratio. Get the grind coarse, the ratio measured, and the steep capped at 18 hours, and bitterness stops being a coin flip.
Ready to make a batch that actually tastes smooth?
The Primula Burke Deluxe is the carafe I use for every batch in this method, mesh filter core included, so there's no separate strainer or cheesecloth to wash. If you want the full six-month writeup on how it's held up, read the <a href="/primula-cold-brew-review-long-term">long-term Primula review</a>, or see more reasons it's stayed my daily coffee tool in <a href="/10-reasons-cold-brew-tastes-better">10 Reasons Cold Brew Tastes Better</a>.
Amazon Check Today's Price on Amazon →